




Hey there! I'm a supplier of 12V batteries, and I often get asked about how to connect a 12V battery to a DC motor. It's a pretty common question, especially for those DIY enthusiasts or people working on small projects. So, I thought I'd put together this blog post to share some tips and tricks on making that connection safely and effectively.
First off, let's talk about why you'd want to connect a 12V battery to a DC motor. DC motors are used in a wide range of applications, from small toys to large industrial equipment. They're known for their simplicity, efficiency, and controllability. And a 12V battery is a convenient power source that can provide a steady supply of electricity to keep your motor running.
Now, before you start connecting anything, you need to make sure you have the right components. You'll obviously need a 12V battery and a DC motor. But you'll also need some wires, a switch (optional but recommended), and maybe a fuse for safety.
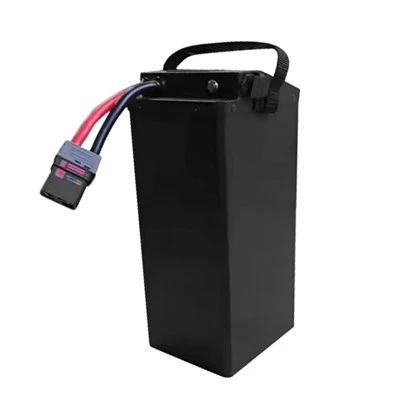
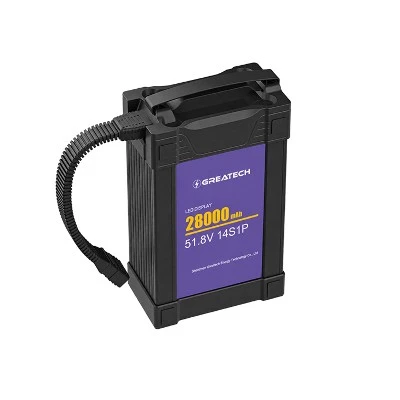
When it comes to choosing a 12V battery, we've got some great options. For example, our 12V 30Ah LiFePO4 Lithium Battery is a lightweight and long - lasting choice. It's perfect for smaller DC motors that don't require a huge amount of power. If you've got a more power - hungry motor, our 12V 400Ah LiFePO4 Lithium Battery can handle the load. And for something in between, the 12V 50Ah LiFePO4 Lithium Battery is a solid option.


Once you've got all your components, it's time to start making the connections. Here's a step - by - step guide:
Step 1: Safety First
Before you touch anything, make sure the battery is disconnected. You don't want to accidentally shock yourself or short - circuit the battery. Also, wear safety glasses and gloves to protect yourself from any potential hazards.
Step 2: Check the Motor Ratings
Look at the specifications of your DC motor. It should tell you the voltage and current requirements. Make sure your 12V battery can supply the necessary power. If the motor requires more current than the battery can provide, it might not run properly or could even damage the battery.
Step 3: Prepare the Wires
Cut two pieces of wire to the appropriate length. You can use insulated copper wire for this. Strip about half an inch of insulation from each end of the wires.
Step 4: Connect the Battery and the Switch (if using)
If you're using a switch, connect one end of a wire to the positive terminal of the battery. Then connect the other end of that wire to one terminal of the switch. Connect another wire from the other terminal of the switch to the positive terminal of the motor.
If you're not using a switch, simply connect one wire directly from the positive terminal of the battery to the positive terminal of the motor.
Step 5: Connect the Negative Terminal
Connect the negative terminal of the battery to the negative terminal of the motor using the second wire. Make sure all the connections are tight. You can use wire nuts or solder the connections for a more secure fit.
Step 6: Add a Fuse (Optional but Recommended)
You can add a fuse in the positive wire between the battery and the motor. This will protect the circuit in case of a short - circuit. Choose a fuse with a rating that matches the current requirements of your motor.
Step 7: Test the Connection
Once you've made all the connections, double - check everything to make sure there are no loose wires or short - circuits. Then, if you're using a switch, turn it on. The motor should start running. If it doesn't, check your connections again. Maybe the battery is dead or the motor is faulty.
There are a few things to keep in mind when connecting a 12V battery to a DC motor. First, the polarity is crucial. Make sure you connect the positive terminal of the battery to the positive terminal of the motor and the negative to the negative. If you get the polarity wrong, the motor might not run or could even be damaged.
Also, be aware of the power requirements of your motor. If you overload the battery by connecting a motor that requires too much power, it can reduce the battery's lifespan and could even cause it to overheat or catch fire.
Another thing to consider is the speed and direction control of the motor. You can use a motor controller to adjust the speed and change the direction of the motor. A motor controller can be a simple variable resistor or a more complex electronic circuit.
If you're planning to use the motor for a long - term project, you might want to think about battery charging. You can use a battery charger to keep your 12V battery topped up. Make sure to follow the manufacturer's instructions when charging the battery.
In conclusion, connecting a 12V battery to a DC motor isn't too difficult as long as you follow the right steps and take the necessary safety precautions. Whether you're working on a small hobby project or a larger industrial application, having a reliable power source like our 12V batteries can make all the difference.
If you're interested in purchasing our high - quality 12V batteries for your DC motor projects, feel free to reach out. We're here to help you find the right battery for your needs and answer any questions you might have.
References
- Basic Electrical Engineering textbooks
- Manufacturer's manuals for 12V batteries and DC motors