







Installing an 80V battery in a device can seem like a daunting task, but with the right knowledge and precautions, it can be a straightforward process. As a supplier of 80V batteries, I've had the opportunity to guide many customers through this installation process. In this blog, I'll share the steps and considerations to ensure a safe and successful installation.
Understanding the Basics of 80V Batteries
Before diving into the installation process, it's essential to understand what an 80V battery is and its applications. 80V batteries are commonly used in high - power devices such as electric motorcycles, industrial equipment, and some high - end power tools. These batteries provide a significant amount of energy, which is why they are suitable for applications that require a lot of power.
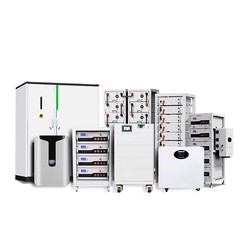
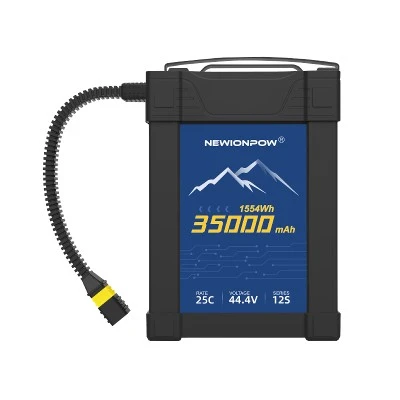
We offer a range of 80V batteries, including the 80V 50Ah Lithium Ion Battery, 80V 200Ah LiFePo4 Battery, and 80V 100Ah LiFePo4 Battery. Each of these batteries has its own characteristics and is designed for different applications. For example, the 80V 50Ah Lithium Ion Battery is relatively lightweight and suitable for applications where portability is important, while the 80V 200Ah LiFePo4 Battery offers a higher capacity and is better for long - term, high - power use.
Pre - installation Preparations
Safety First
Safety should always be your top priority when working with high - voltage batteries. 80V is a significant voltage, and improper handling can lead to serious injuries or even death. Wear appropriate personal protective equipment (PPE), such as insulated gloves and safety glasses. Make sure the work area is well - ventilated, dry, and free from any flammable materials.
Gather the Necessary Tools
You'll need a set of basic tools for the installation, including a socket wrench set, a screwdriver, and a voltmeter. The voltmeter is essential for checking the battery's voltage before and after installation to ensure it is functioning properly.
Read the Device Manual
Every device has its own specific requirements for battery installation. Read the device's user manual carefully to understand the correct way to install the 80V battery. The manual will also provide information on the battery's specifications, such as the recommended charging voltage and current.
Check the Battery
Before installing the battery, inspect it for any visible damage, such as cracks or leaks. If you notice any damage, do not install the battery. Contact our customer service team immediately, and we'll assist you in getting a replacement.
Installation Steps
Step 1: Power Off the Device
Before starting the installation, turn off the device and unplug it from any power source. This will prevent any electrical shock or short - circuit during the installation process.
Step 2: Locate the Battery Compartment
Open the device's battery compartment. The location of the battery compartment varies depending on the device. It could be on the side, bottom, or back of the device. Refer to the device manual if you're having trouble finding it.


Step 3: Remove the Old Battery (if applicable)
If there is an old battery in the device, carefully remove it. Pay attention to the battery's orientation and the way it is connected. Most batteries are connected using cables with connectors. Gently disconnect the cables by pressing the release tabs on the connectors.
Step 4: Prepare the New 80V Battery
Take the new 80V battery out of its packaging. Make sure the battery is fully charged before installation. You can use a compatible charger to charge the battery if it's not already charged.
Step 5: Install the New Battery
Place the new battery into the battery compartment. Ensure that the battery is correctly oriented according to the markings in the compartment. Connect the battery cables to the appropriate terminals on the battery. The positive cable is usually red, and the negative cable is black. Make sure the connections are tight to prevent any loose connections, which can cause electrical problems.
Step 6: Secure the Battery
Once the battery is connected, secure it in place using the mounting brackets or straps provided in the device. This will prevent the battery from moving around during operation, which could damage the battery or the device.
Step 7: Check the Connections
After securing the battery, double - check all the connections to make sure they are tight and properly connected. Use a voltmeter to measure the voltage across the battery terminals. The voltage should be close to the rated voltage of the battery (80V). If the voltage is significantly different, there may be a problem with the installation or the battery itself.
Step 8: Close the Battery Compartment
Once you've verified that everything is in order, close the battery compartment. Make sure the compartment is sealed properly to prevent any dust or moisture from entering.
Post - installation Checks
Test the Device
Turn on the device and check if it is functioning properly. If the device doesn't start or shows any abnormal behavior, turn it off immediately and re - check the battery installation.
Monitor the Battery
Keep an eye on the battery's performance over the first few days of use. Check the battery's voltage regularly to ensure it is maintaining a stable charge. If you notice any issues, such as rapid voltage drop or overheating, contact our technical support team for assistance.
Maintenance Tips
To ensure the longevity and optimal performance of your 80V battery, follow these maintenance tips:
- Charge the battery regularly according to the manufacturer's recommendations.
- Avoid over - charging or over - discharging the battery.
- Store the battery in a cool, dry place when not in use.
- Clean the battery terminals periodically to prevent corrosion.
Conclusion
Installing an 80V battery in a device requires careful planning and attention to detail. By following the steps outlined in this blog and taking the necessary safety precautions, you can install the battery safely and successfully. If you have any questions or need further assistance during the installation process, our team of experts is always here to help.
If you're interested in purchasing our 80V batteries for your devices, we invite you to contact us for a detailed product consultation and to discuss your specific requirements. We look forward to serving you and helping you find the perfect battery solution for your needs.
References
- Device user manuals for specific installation requirements.
- Battery manufacturer's guidelines for safety and maintenance.


